Skip to content
Total:
$
0.00
Categories
Belt Accessories
Blazers
Hats
Men's Wallet
Pullovers
Checkout
Cart
Contact us
About us
Privacy Policy
Terms of Use
Shop
Total:
$
0.00
Checkout
Cart
Contact us
About us
Privacy Policy
Terms of Use
Shop
Belt Accessories
Blazers
Hats
Men's Wallet
Pullovers
Shop
Showing 1–12 of 26 results
Default sorting
Sort by popularity
Sort by average rating
Sort by latest
Sort by price: low to high
Sort by price: high to low
Sale!
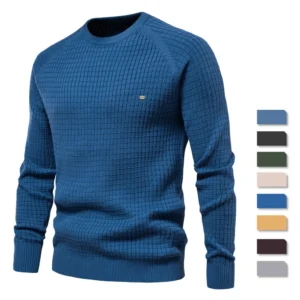
100% Cotton Autumn and Winter 2023 New Cotton Retro High-quality Sweater Men’s Pure Color Pullover Basic Sweater Men
$
24.87
$
17.41
Select options
Sale!
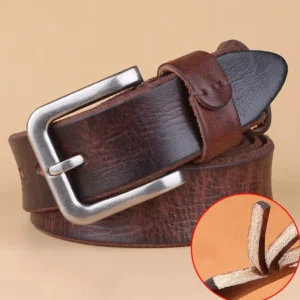
2023 High Quality Belt Men’s Genuine Leather Top Layer Pure Leather Pin Buckle Jeans Fashion Belts for Men Luxury Designer Brand
$
27.50
$
6.25
Select options
Sale!
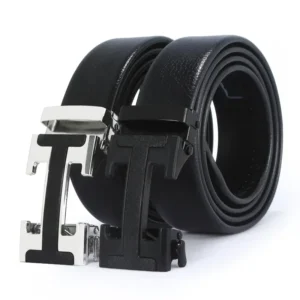
2023 Men Automatically Buckle Alligator Belt Wholesale Young and Middle-aged Business Tie-in Imitation Leather Buckle Pants
$
13.00
$
7.00
Add to cart
Sale!
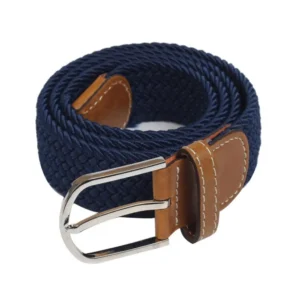
80% HOT SALE Fashion Men Women Elastic Braided Alloy Pin Buckle Waist Belt Strap Waistband Clothing Accessories
$
6.00
$
3.00
Select options
Sale!
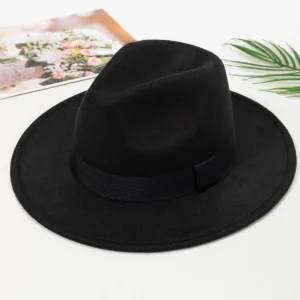
Autumn and winter men and women’s new large brimmed hats, fashionable woolen jazz hats, English style top hats
$
9.00
–
$
16.00
Select options
Sale!
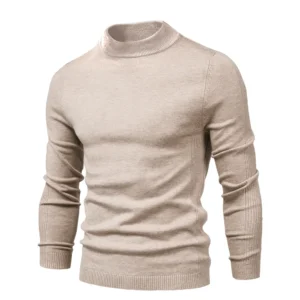
Autumn/Winter New Casual Men’s Solid Color Pullovers Half Turtleneck Knitwear Fashion Brand Casual Mens Clothing
$
44.00
$
31.00
Add to cart
Sale!
Casual Blazer Suit Jackets 2 Button Business Work Coats for Men High Quality Charcoal Wedding Business Formal Check Suit Coat
$
38.08
$
19.04
Select options
Sale!
DIENQI Carbon Fiber Card Holder Mini Aluminum Metal RFID Magic Men’s Wallet
$
8.14
$
4.60
Select options
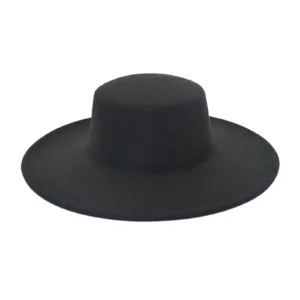
Sale!
Fedora Hats For Men Women Elegant Winter Wool Bucket Hat 1920s Vintage Cloche Bowler Hats Velour Bowler Hat Flat Top Hats Wide
$
11.51
$
5.99
Select options
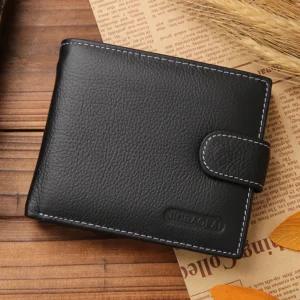
Sale!
JINBAOLAI Leather Men Wallets Cow Leather Solid Sample Style Zipper Purse Man Card Horders Famous Brand High Quality Male Wallet
$
9.38
$
6.00
Select options
Sale!
M-4XL Spring Summer New Plus Size Men Blazer Fit Men’s Casual Thin Suit Jacket Black Green Coat
$
70.00
$
41.00
Select options
Sale!
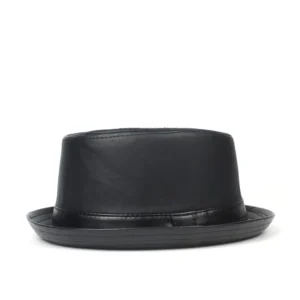
Men Balck Pork Pie Hat For Dad Leather Fedora Hat Fashion Gentleman Flat Bowler Porkpie Top Hat Size S M L XL
$
25.43
$
16.53
Select options
1
2
3
→