Skip to content
Total:
$
0.00
Categories
Artificial Flower
Basket
Cushions
Hooks
Mat
Checkout
Cart
Contact us
About us
Privacy Policy
Terms of Use
Shop
Total:
$
0.00
Checkout
Cart
Contact us
About us
Privacy Policy
Terms of Use
Shop
Artificial Flower
Basket
Cushions
Hooks
Mat
Shop
Showing 1–12 of 30 results
Default sorting
Sort by popularity
Sort by average rating
Sort by latest
Sort by price: low to high
Sort by price: high to low
Sale!
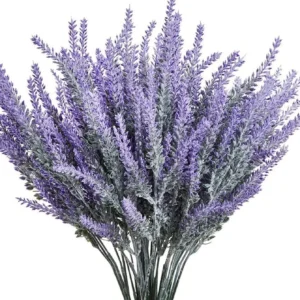
1 Bunch Plastic Lavender Wedding Decorative Fake Flowers for Scrapbooking Home Decoration Accessories Cheap Artificial Flowers
$
3.13
$
1.90
Select options
Sale!
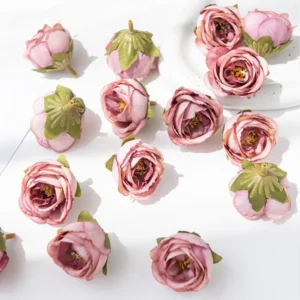
10 Heads Rose Bouquet Artificial Flowers Western Rose Wedding Decoration 6 Colors Peonies Fake Flowers Artificial Flowers
$
2.10
$
1.30
Select options
Sale!
100% Nature Mulberry Silk Pillowcase Zipper Pillowcases Pillow Case For Healthy Standard Queen King Multicolor
$
25.60
$
12.92
Select options
Sale!
10Pcs Artificial Flowers for Wedding Home Decor Christmas Craft Wreaths Diy Scrapbooking Candy Box Silk Roses Bridal Accessories
$
3.96
$
1.66
Select options
Sale!
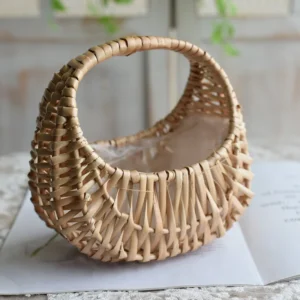
1PC Handmade Flower Arrangement Basket Half Moon Wicker Basket Woven Basket With Handle Wedding Flower Home Decoration
$
9.29
$
6.00
Select options
Sale!
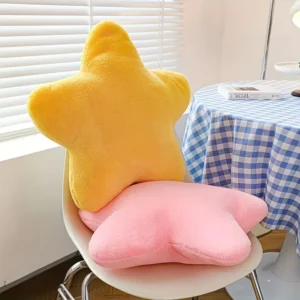
1pc Star Fluff Throw Pillow, Pillow Butt Cushion Pillow, Seating Cushion Bedroom Sofa Chair Home Decor,
Rated
5.00
out of 5
$
16.12
$
11.00
Select options
Sale!
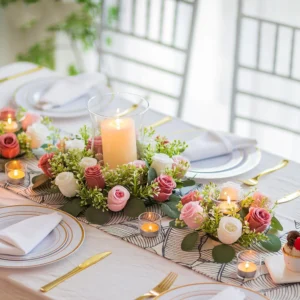
4pcs Candle Rings Candlestick Wreath European Artificial Rose Wreath Christmas Decoration Window Props Table Wedding Arrangement
$
12.12
$
6.39
Select options
Sale!
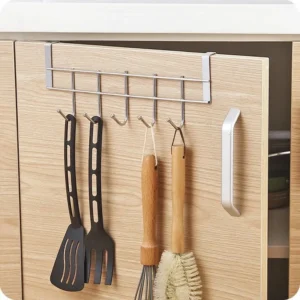
5-cavity Cabinet Door Back Adhesive Hooks Creative Kitchen Door Back Hanging Rack Wall-mounted No Trace Nail Hooks Clothes Rack
$
6.82
$
3.90
Select options
Sale!
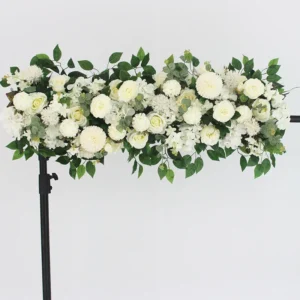
50/100CM Artificial Flowers For Wedding Decoration Rose Flower Arrangement Background Marriage Backdrop Photo Props Flower Wall
$
58.25
$
27.45
Select options
Sale!
5Pcs Roses Soap Flowers Romantic Valentines Mother’s Day Gift Wedding Bouquet Home Decorations Artificial Fake Flowers
Rated
5.00
out of 5
$
4.67
$
2.80
Select options
Sale!
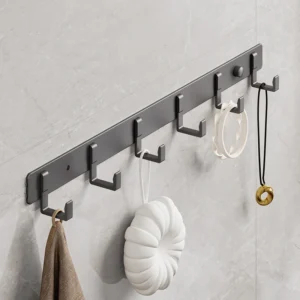
Aluminum Grey Robe Hook Wall Hanging Towel Hooks Clothes Storage Bathroom Accessories
$
3.37
$
1.90
Select options
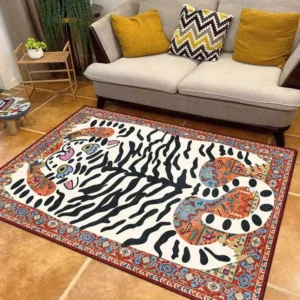
Cartoon beautiful tiger skin patterned Crouching Persian Ethnic Style Multi Color Area Carpet Living Room Bedside Mat
$
32.55
Select options
1
2
3
→